Launch offer — valid today only

📄 Digital book in PDF · read it on your phone or print it

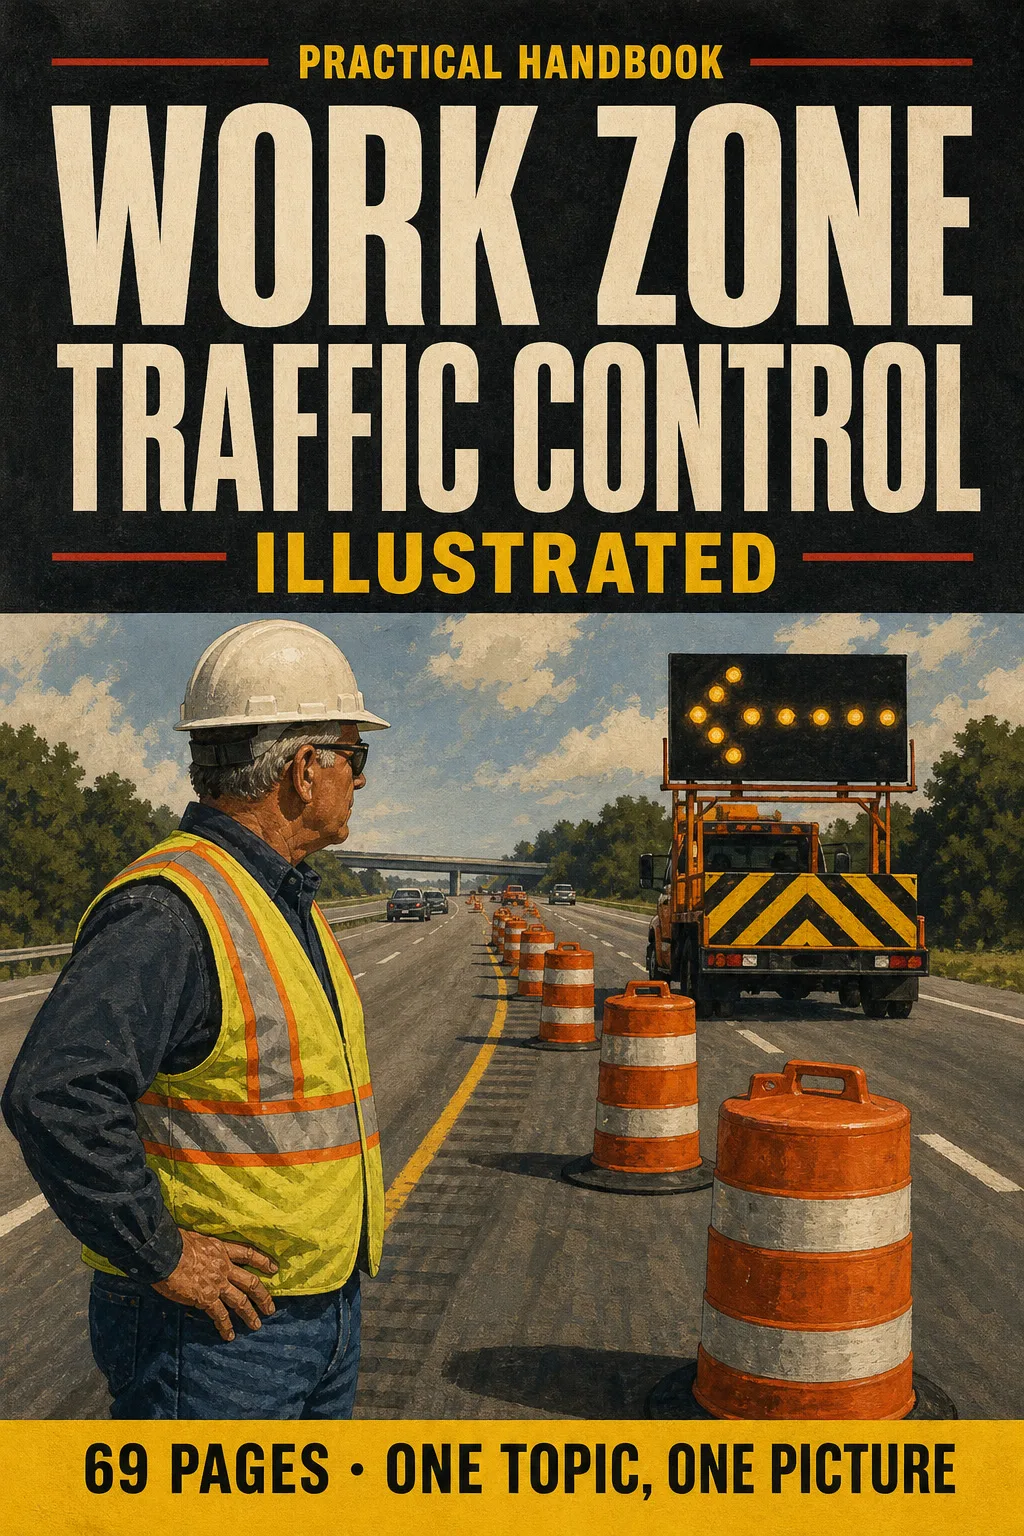
Traffic Control Technician & Supervisor: MUTCD Part 6 in Drawings Every Work Zone in the Same Order

The 4 areas, taper length, sign spacing, cone spacing, flagging, typical layouts and night work. Every topic has its own page: the drawing first, then what you need to remember. 69 illustrated pages.

START STUDYING THIS WAY

🔒 Secure checkout · PDF by email · 30-day guarantee

Every topic, its own pageEach layout drawn from above, with the explanation right next to it
69 illustrated pages8 parts, from the first cone to the exam review
Up-to-date sourcesMUTCD 11th Edition Part 6, 23 CFR 630 and ANSI/ISEA 107
PDF by emailFormat

Look Inside the Book

Every page has one big drawing and a box with the numbers you need to know:

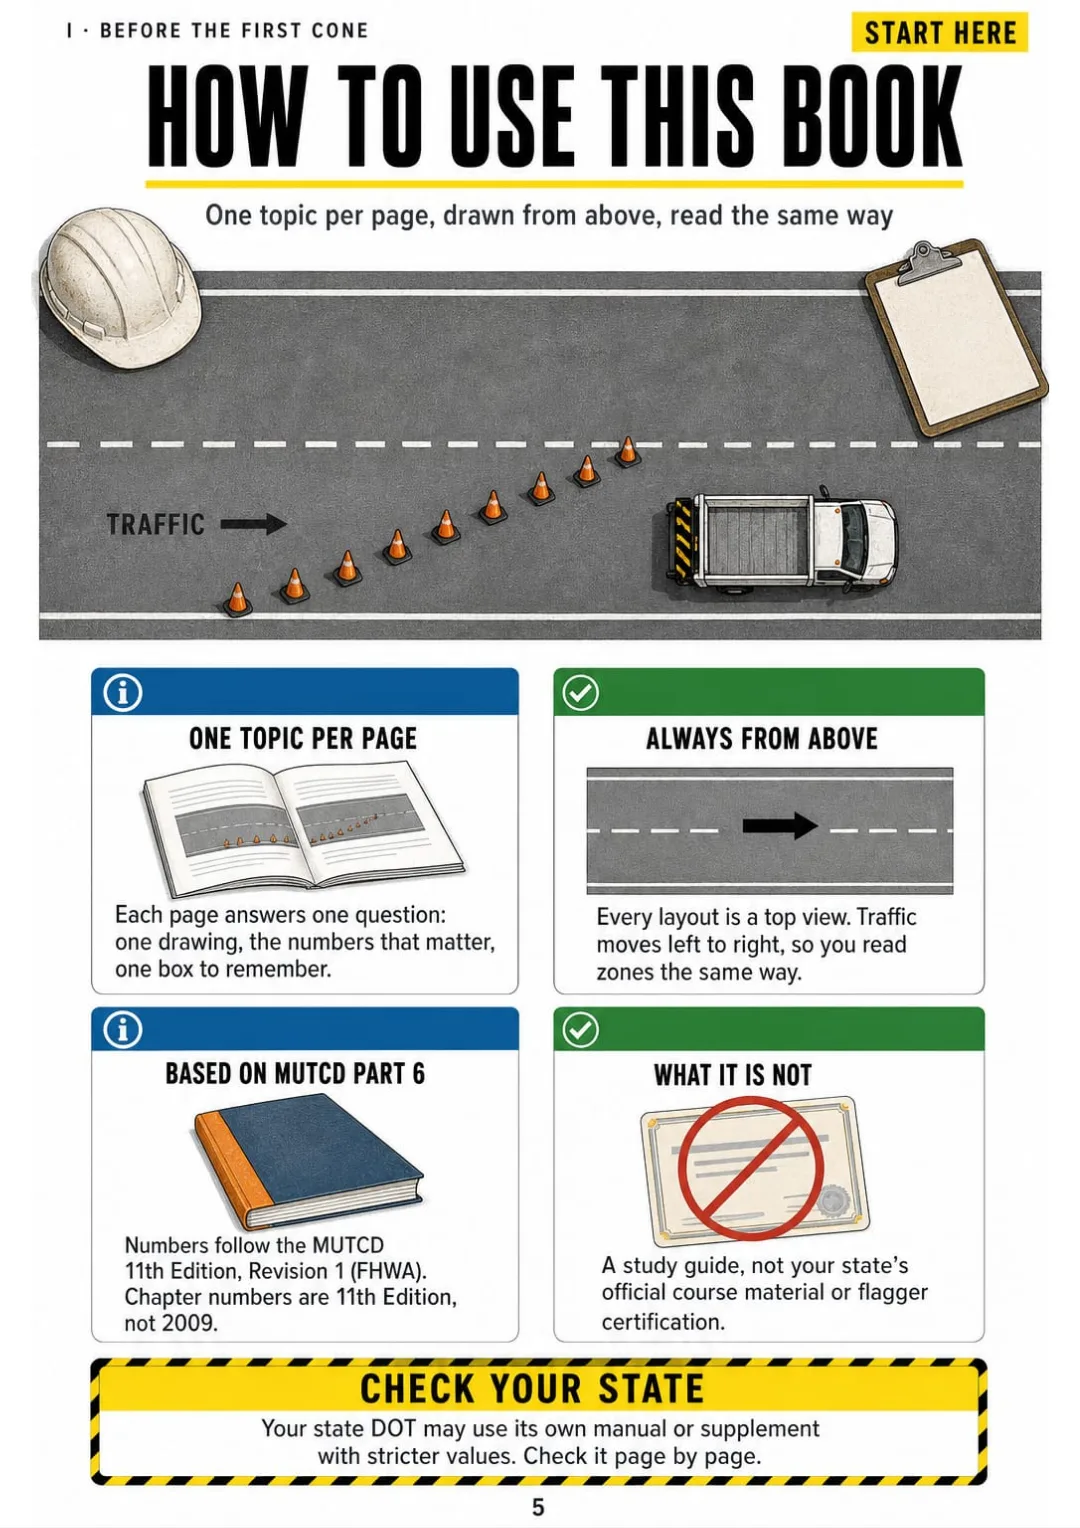
One topic per page, top view, traffic left to right, based on MUTCD Part 6 (11th Ed., Rev. 1)
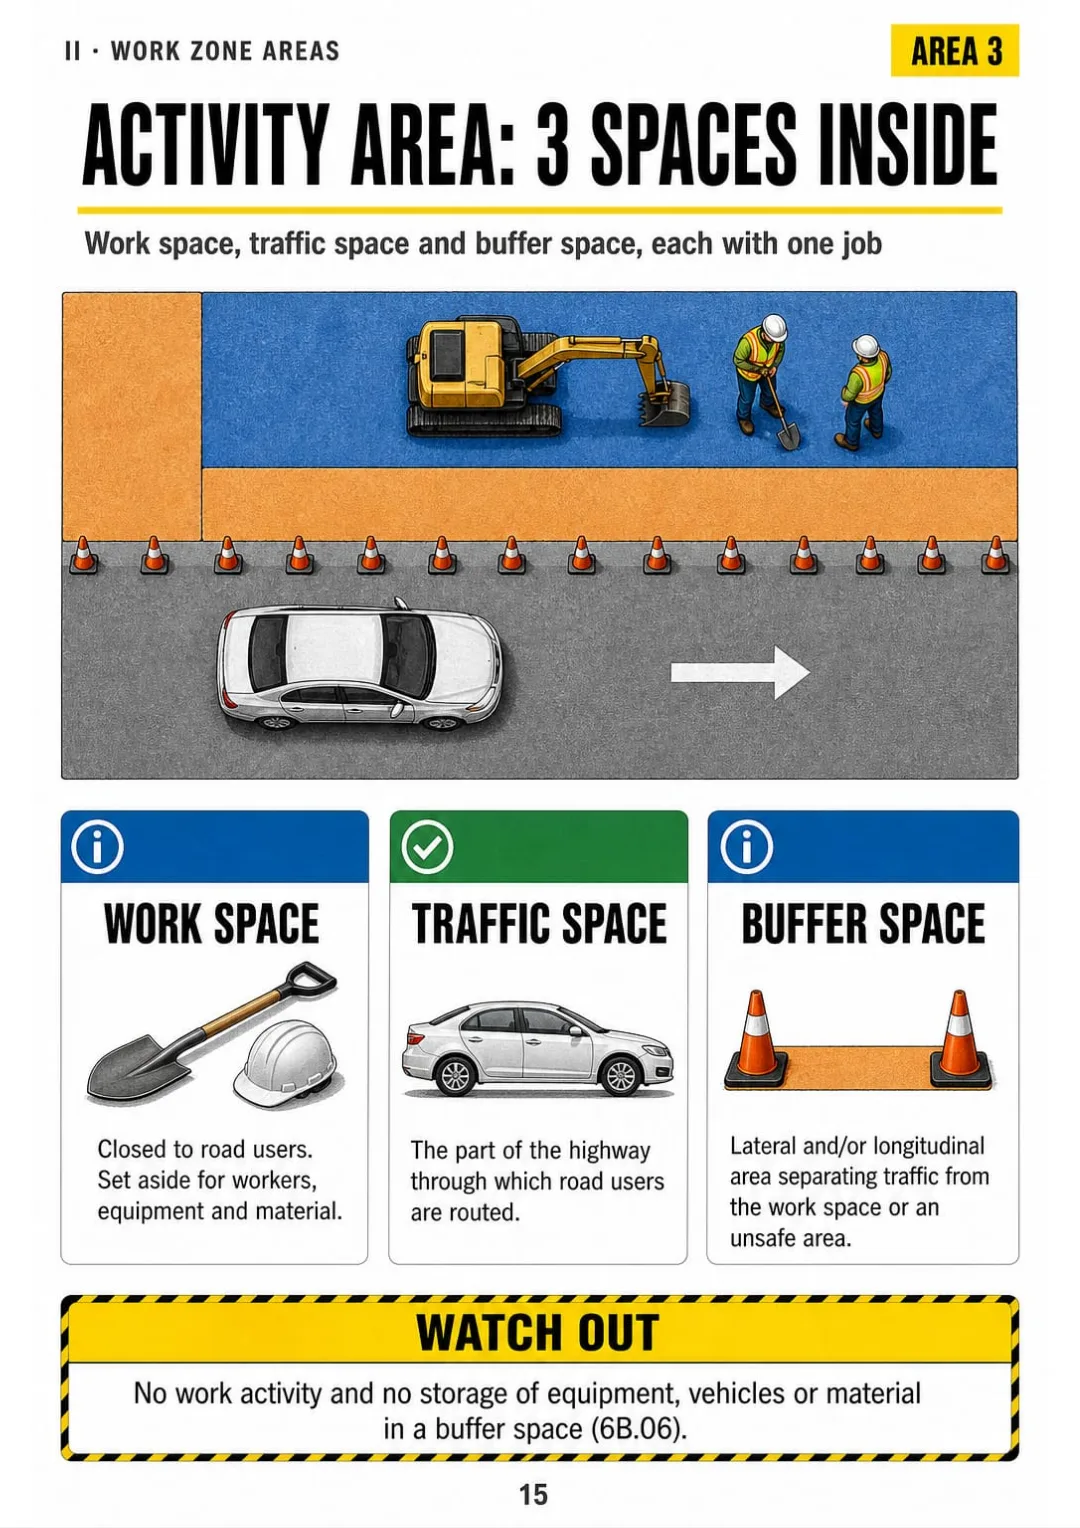
Activity area, MUTCD 6B.06: work space + traffic space + buffer space
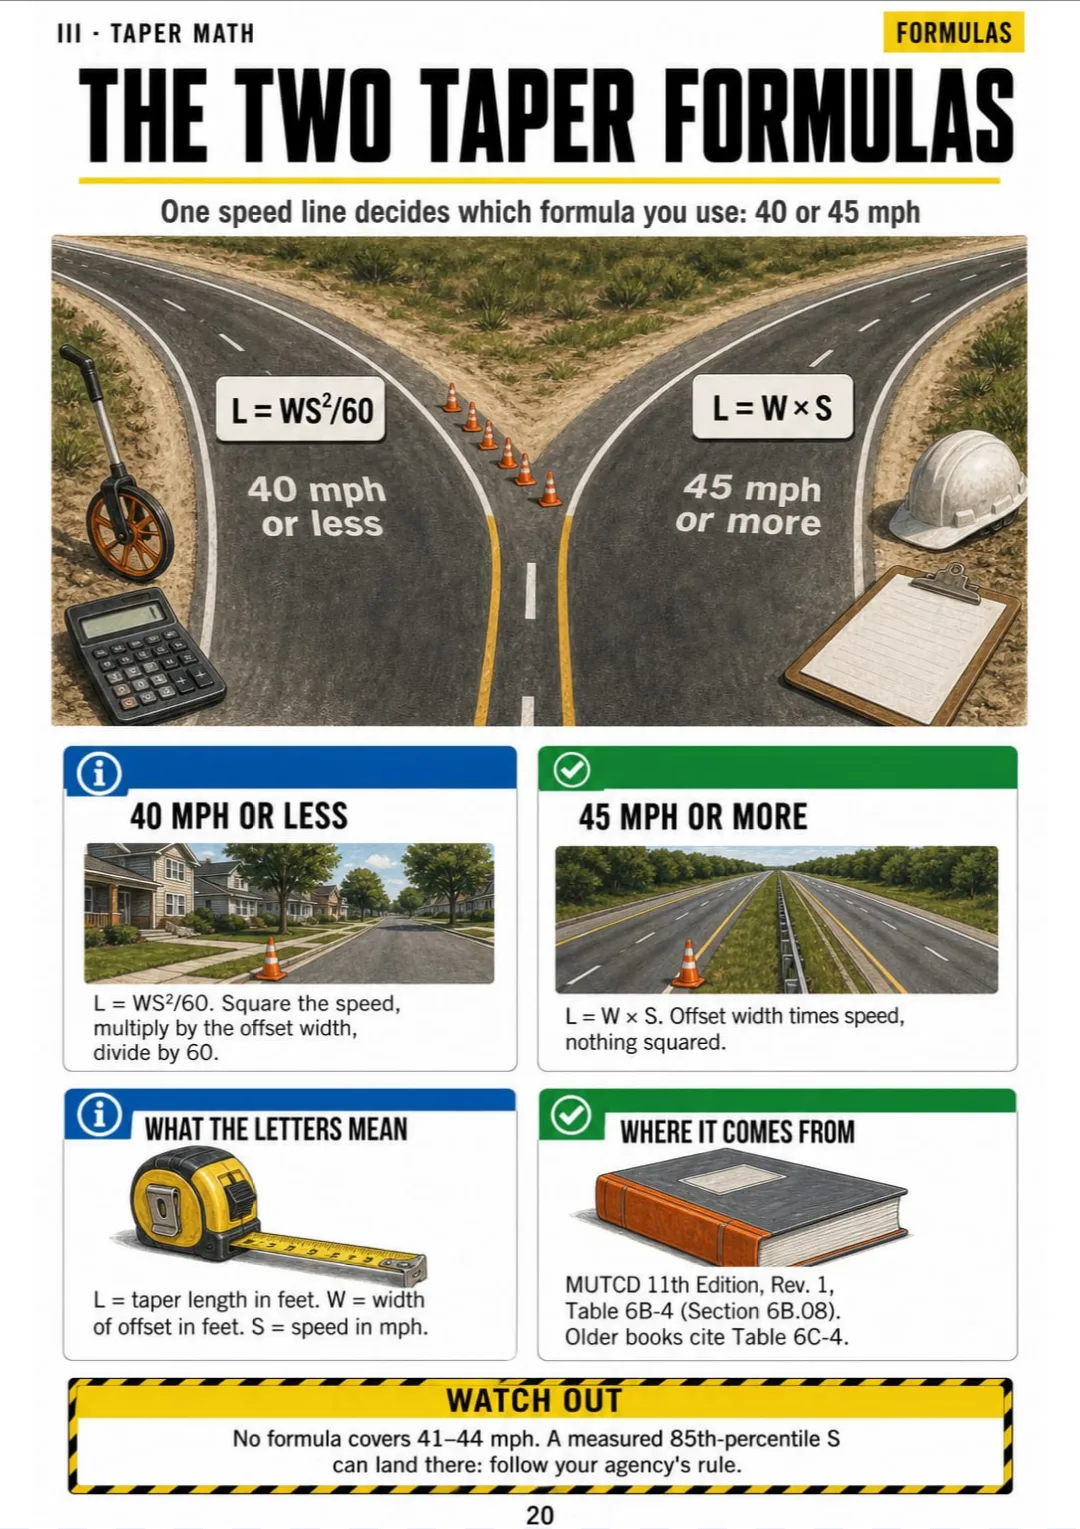
Taper length: L = WS²/60 at 40 mph or less, L = W × S at 45 mph or more (MUTCD Table 6B-4).
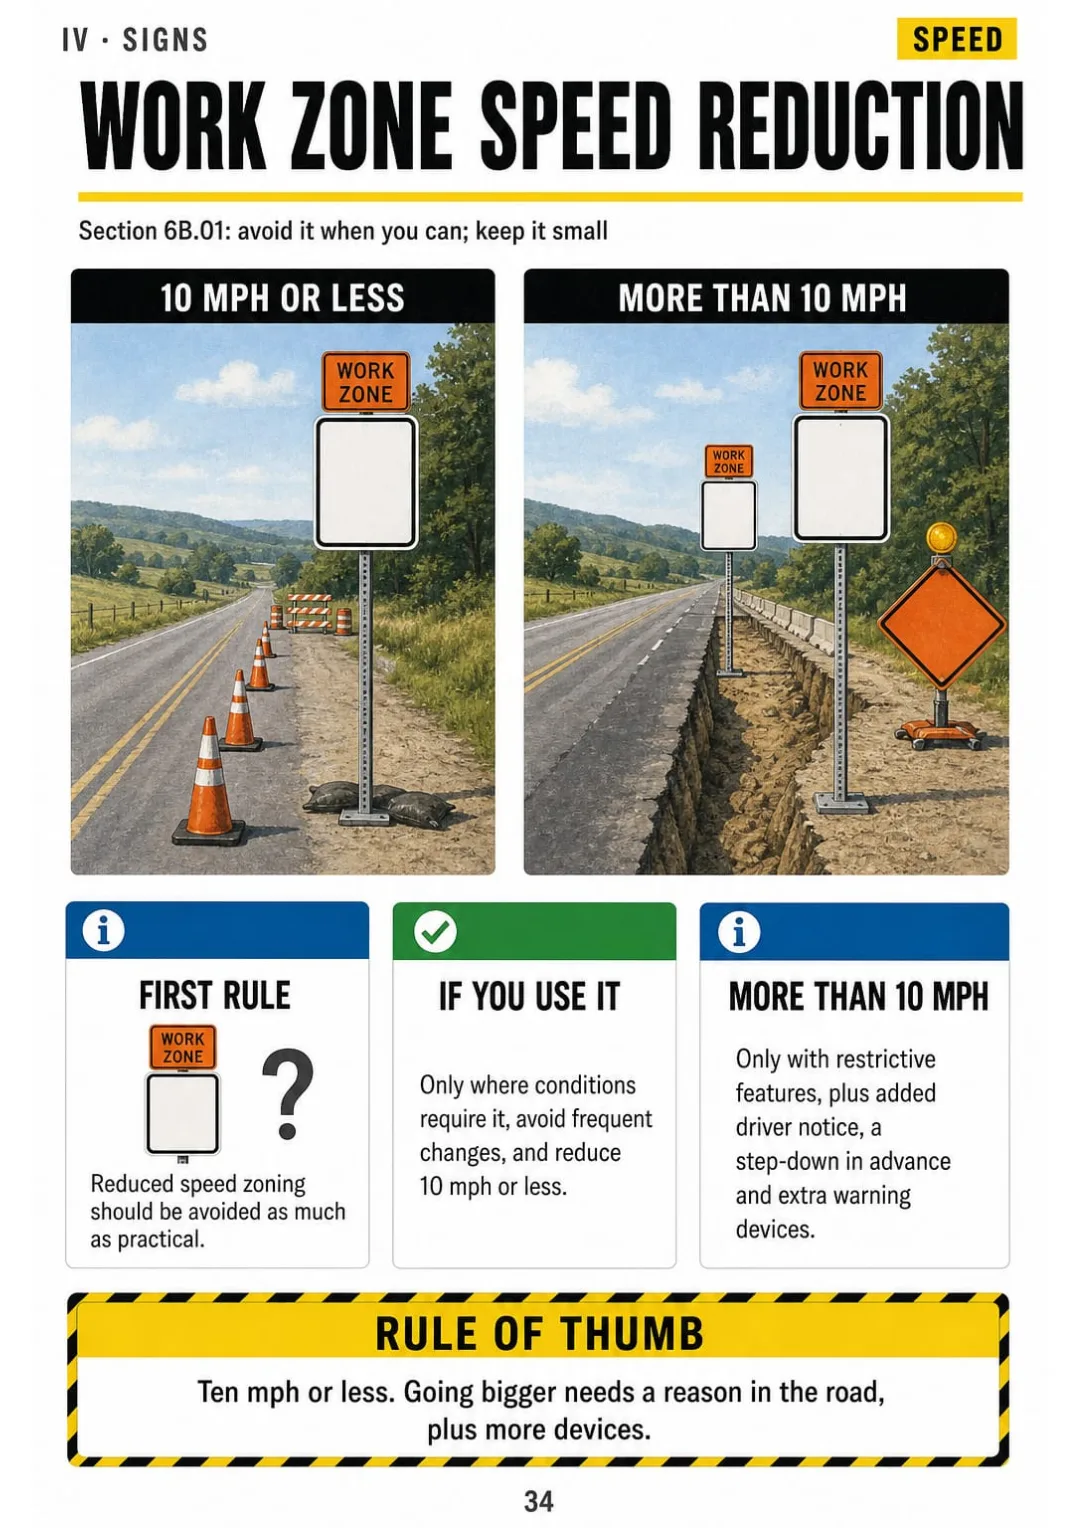
Section 6B.01: reductions of 10 mph or less; more only with restrictive features.
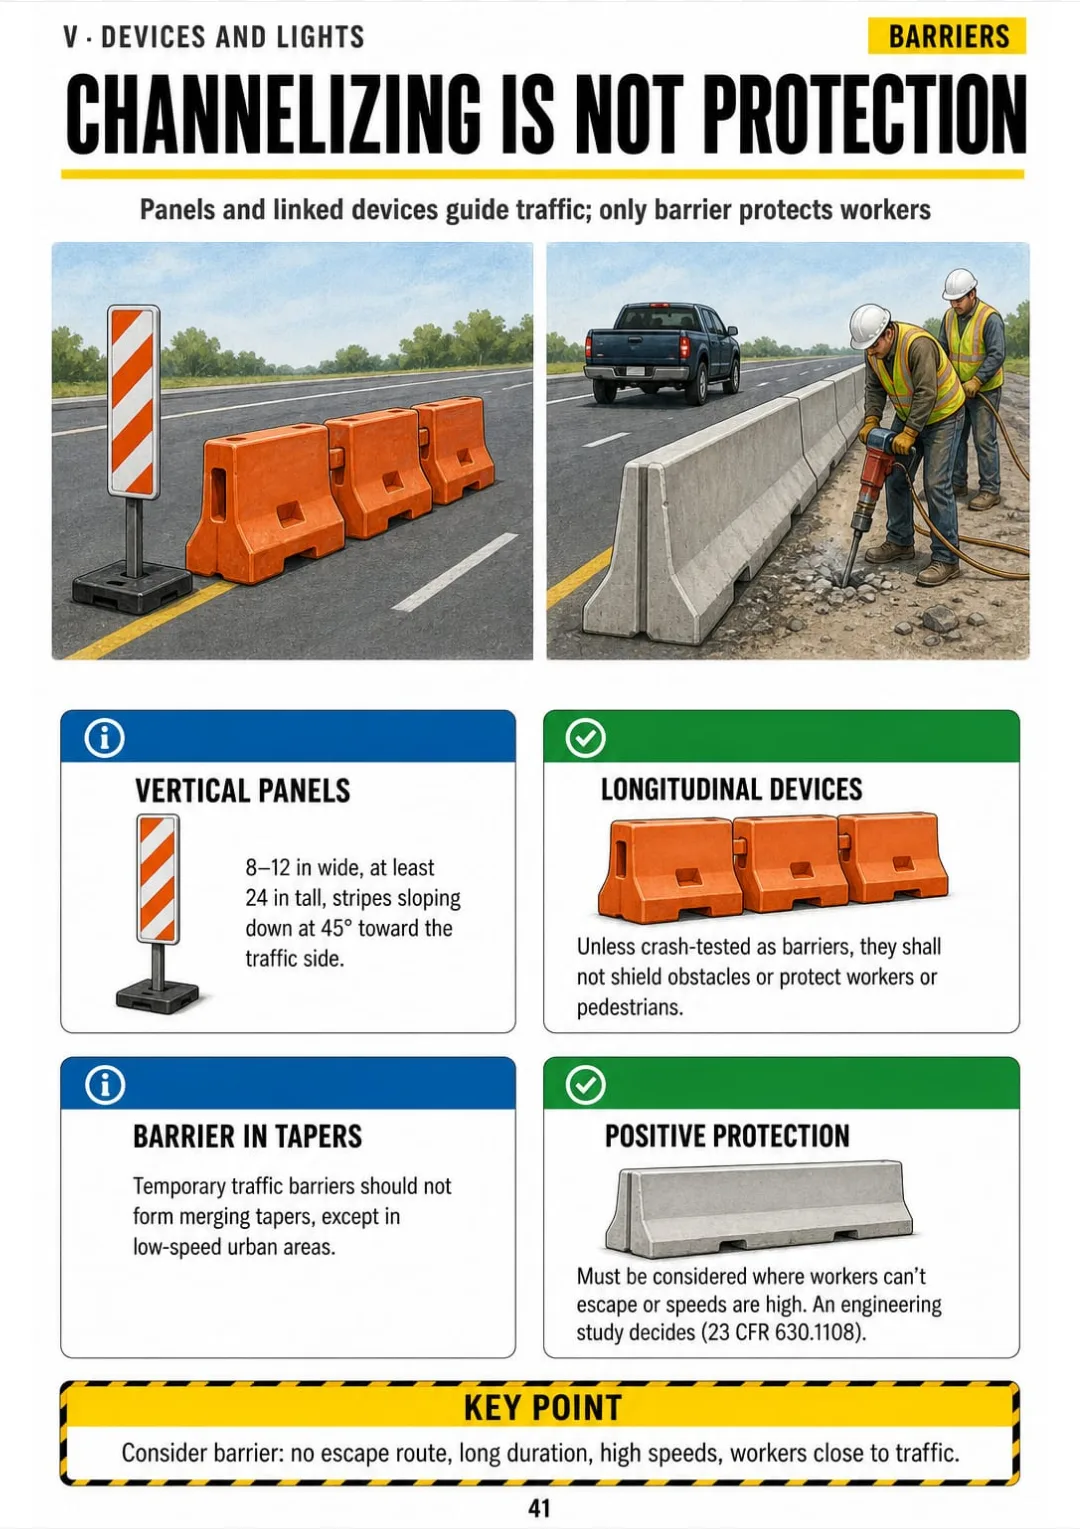
Panels 8–12 × 24 in; longitudinal devices never protect workers; positive protection per 23 CFR 630.1108.
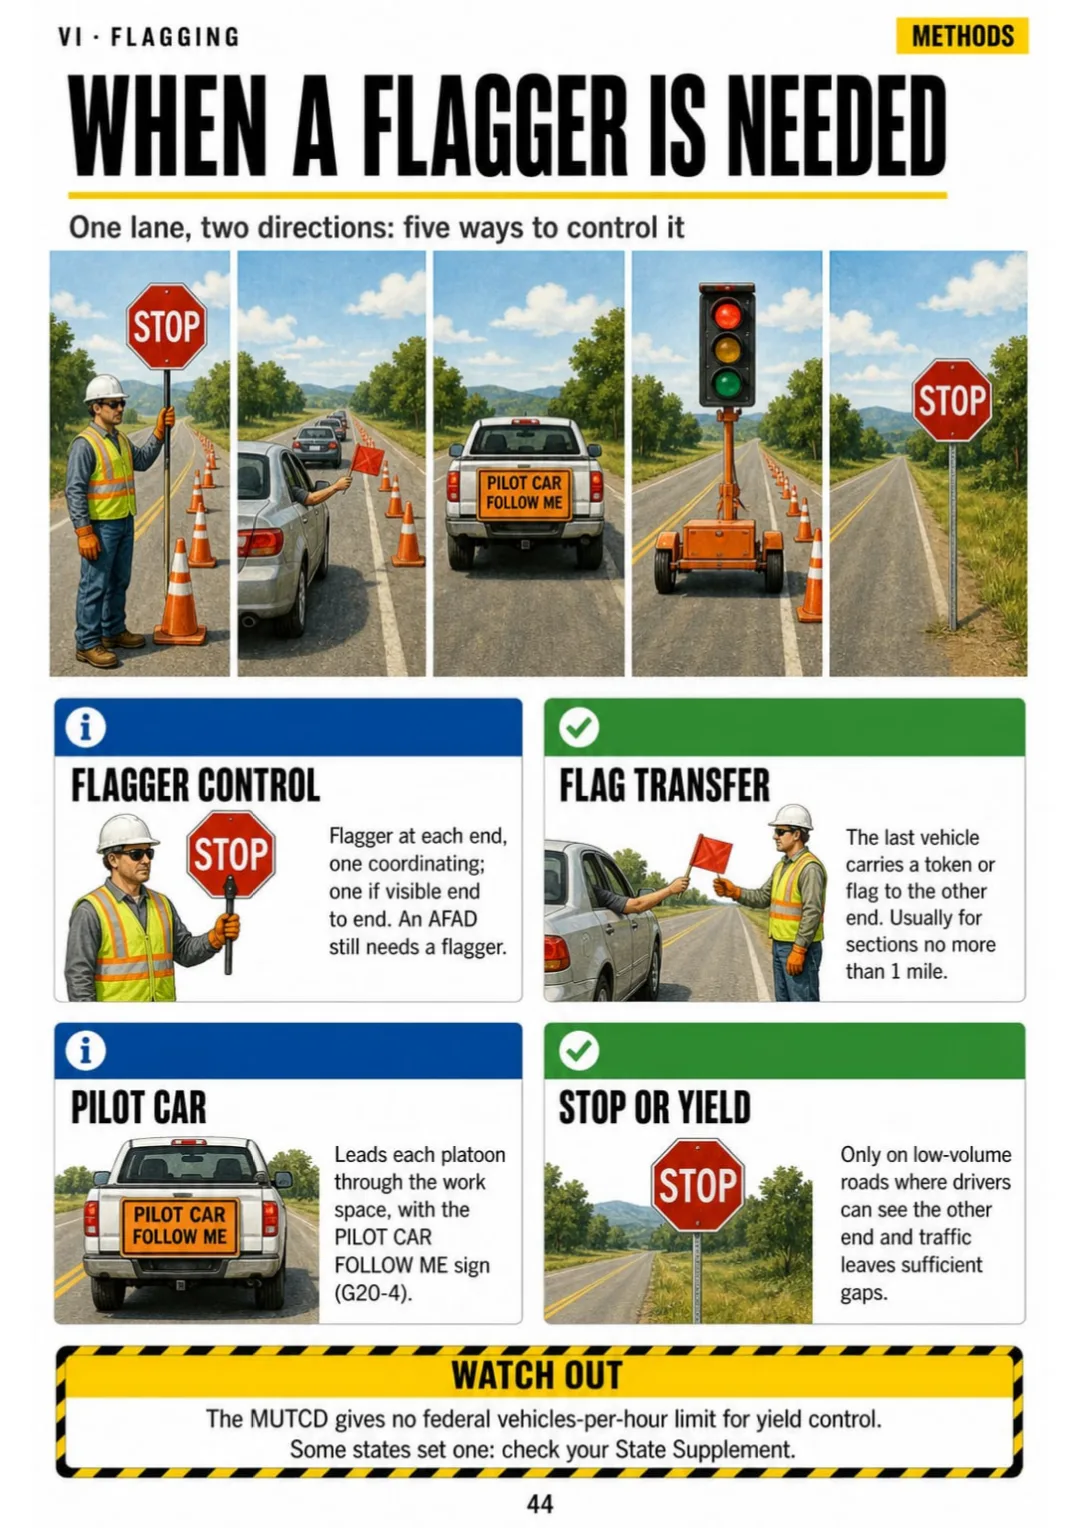
Flagger, flag transfer, pilot car, temporary signal or STOP/YIELD: the 5 methods of MUTCD Chapter 6E.
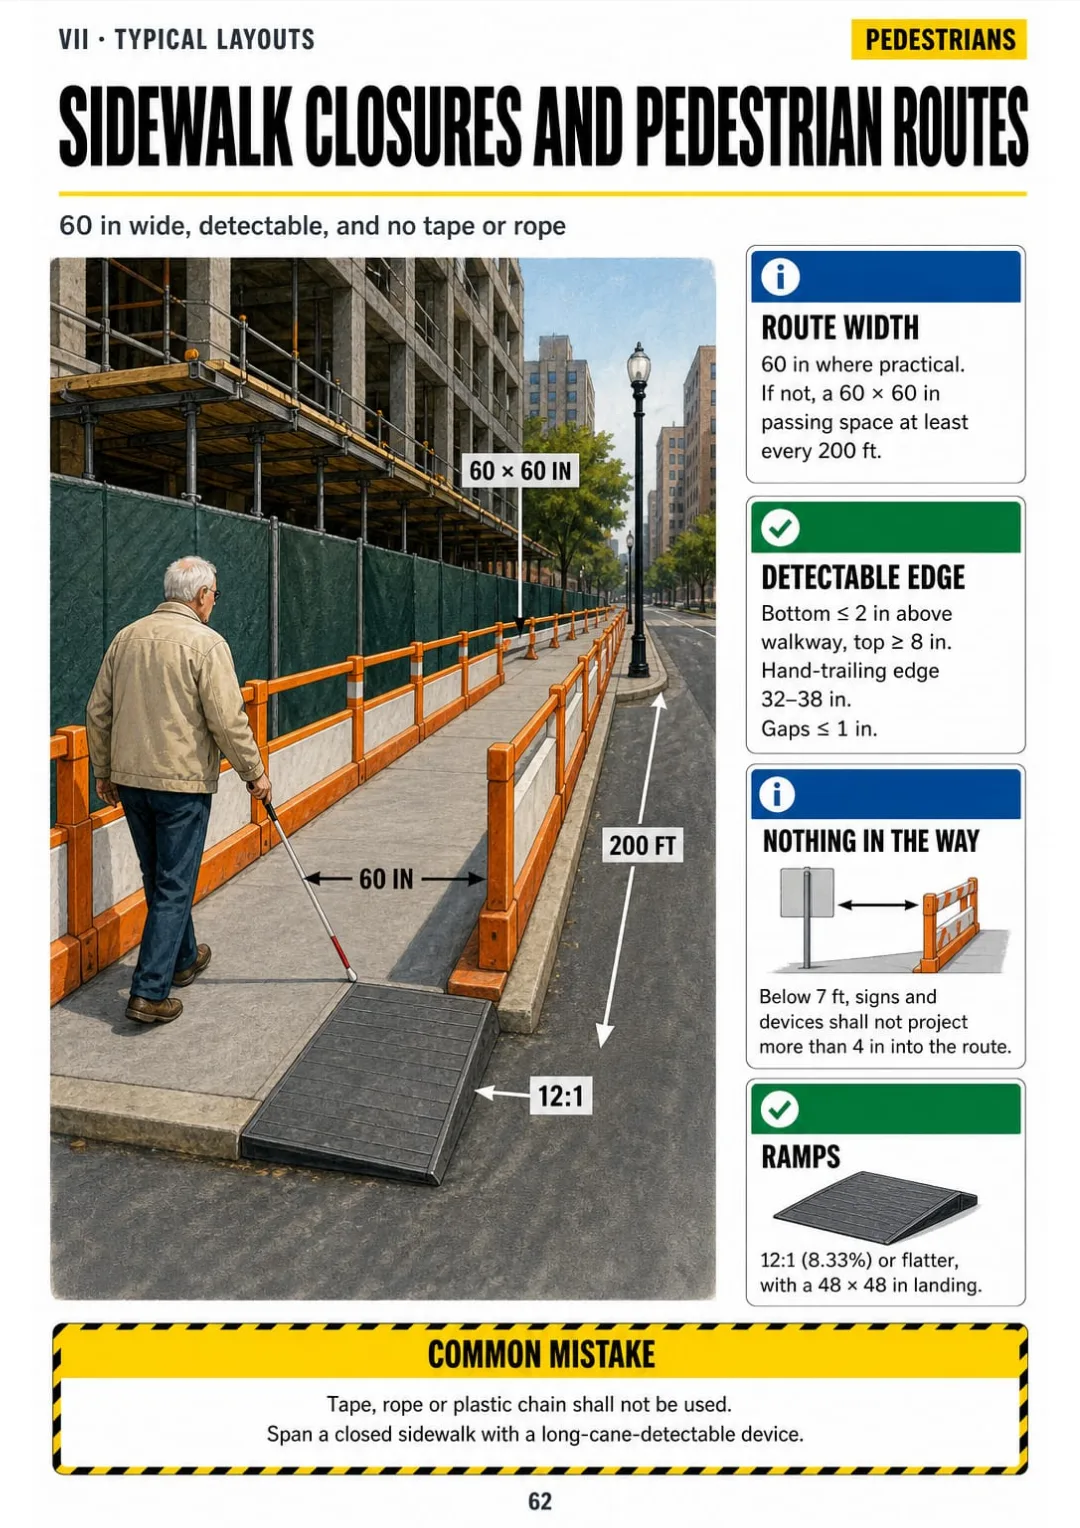
Pedestrian route: 60 in wide or 60 × 60 in passing spaces every 200 ft, detectable edge, no tape.
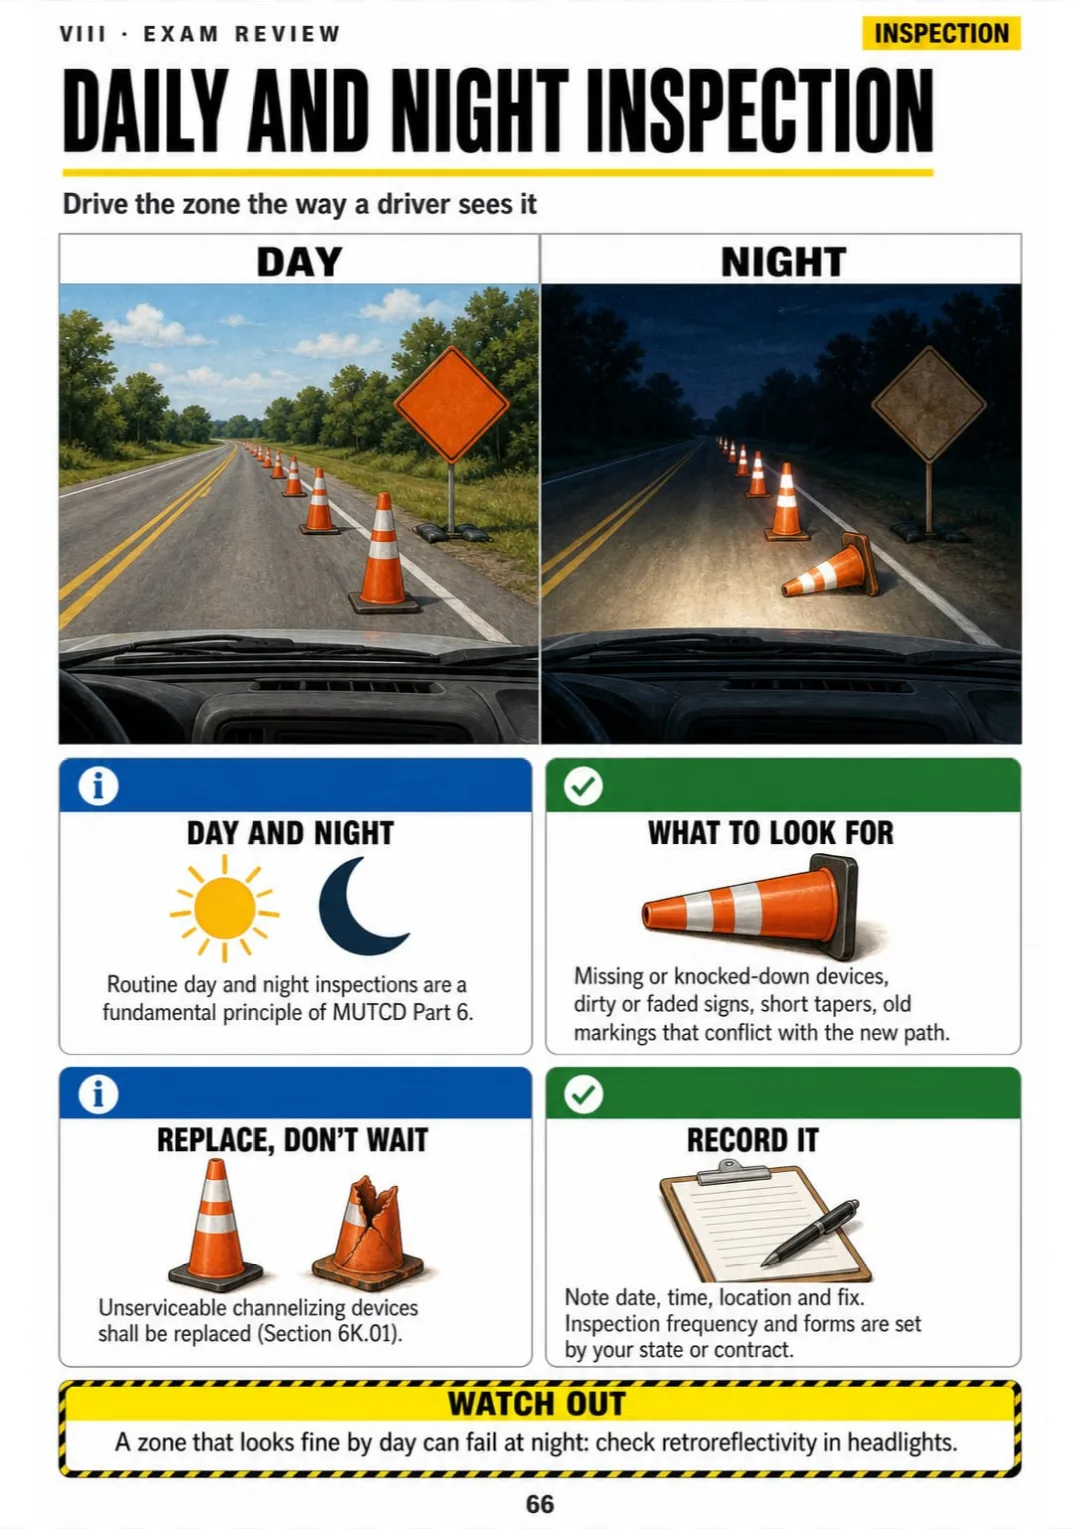
Section 6A.02 D: routine day and night inspections · unserviceable devices shall be replaced

Swipe to see more →

These are real pages from the book. The table of contents is the full one: 8 parts and 65 topics.

The Problem Isn't You. It's How It Was Explained to You.

You're standing at the start of a lane closure on a 55 mph road, one 12-ft lane closed, and the inspector asks how long your taper should be. You know the cones. The formula won't come.

Was it WS²/60 or W × S? The manual has both in a table, buried between pages on taper types and which speed counts as S. You read it at night, and by morning the two formulas blur into one.

Taper length: L = WS²/60 at 40 mph or less, L = W × S at 45 mph or more (MUTCD Table 6B-4).

In this book, that topic is one page: the two formulas side by side, 40 mph or less on one side, 45 mph or more on the other, with the taper drawn from above and W and S marked right on the road.

Same goes for the 4 areas, sign spacing, cone spacing, flagger stations and the typical layouts: each one has its own page.

Next time someone asks, you can picture the page: 12 × 55, 660 feet. You set the taper and get back to work, no manual needed.

COMPARE FOR YOURSELF

The Same Topic, Two Ways to Study It

THIS
  • The manual: line after line after line
  • The 4 areas explained only in words
  • You show up to the exam still unsure
Most temporary traffic control zones are divided into four areas: the advance warning area, the transition area, the activity area, and the termination area. The advance warning area is the section of highway where road users are informed about the upcoming work zone. The transition area is that section where road users are redirected out of their normal path. The activity area, which includes the work space, traffic space and buffer space, is where work takes place, and the termination area returns road users to their normal path.
FOR THIS
  • The 4 areas in one drawing
  • The order and the distances in one box
  • You see it and you get it
Activity area, MUTCD 6B.06: work space + traffic space + buffer space
CONTENTS

Take a Look at the 8 Parts and 65 Topics

Before the first cone, the 4 areas, taper math, signs, channelizing devices, flagging, typical layouts and the exam review: 69 pages, all illustrated.

IBefore the First Cone · pp. 5-11
  1. How to Use This Book (and What It Is Not)
  2. MUTCD Part 6 in One Page
  3. Standard, Guidance, Option, Support: The 4 Headings That Change the Answer
  4. The Fundamental Principles of TTC
  5. The TTC Plan and the Traffic Management Plan
  6. The 5 Work Duration Categories
  7. Work Location: Shoulder, Lane, Median, Intersection
IIWork Zone Areas · pp. 12-19
  1. The 4 Areas, Always in the Same Order
  2. Advance Warning Area
  3. Transition Area
  4. Activity Area: Work Space, Traffic Space, Buffer
  5. Longitudinal Buffer Space and Its Distances
  6. Lateral Buffer Space
  7. Termination Area
  8. Spot the 4 Areas: A Two-Lane Flagging Zone
IIITaper Math · pp. 20-27
  1. The Two Formulas: WS²/60 and WS
  2. Which Speed Is S?
  3. The 5 Types of Taper and Their Lengths
  4. Worked Example: 12-ft Lane at 55 mph
  5. Worked Example: 11-ft Lane at 35 mph
  6. Quick Taper Table by Speed
  7. Cones in the Taper: How Many and How Far Apart
  8. Closing Two Lanes: Taper, Tangent, Taper
IVSigns: Sequence and Spacing · pp. 28-35
  1. Sign Spacing: The A-B-C Table
  2. Reading A, B and C in the Right Direction
  3. Warning Signs: Orange, Black, Diamond
  4. Sign Mounting Height
  5. The Signs You Use Every Day
  6. Regulatory Signs in the Work Zone
  7. Work Zone Speed Reduction
  8. Changeable Message Signs and Arrow Boards
VChannelizing Devices and Lights · pp. 36-43
  1. Spacing: 1 × S in Tapers, 2 × S in Tangents
  2. Cones
  3. Tubular Markers
  4. Drums
  5. Barricades Type 1, 2 and 3
  6. Vertical Panels, Longitudinal Devices and Barriers
  7. Warning Lights Type A, B and C
  8. High-Level Warning Devices and Shadow Vehicles
VIFlagging · pp. 44-51
  1. When a Flagger Is Needed
  2. The Flagger's Gear
  3. The STOP/SLOW Paddle
  4. 3 Signals: Stop, Proceed, Slow
  5. Where the Flagger Stands
  6. Flagger Sign Sequence
  7. Coordinating Two Flaggers
  8. Automated Flagger Assistance Devices (AFAD)
VIITypical Layouts · pp. 52-63
  1. Work Beyond the Shoulder
  2. Shoulder Work, Minor Encroachment
  3. Lane Closure on a Two-Lane Road with Flaggers
  4. Lane Closure on a Two-Lane Road, Low Volume, Yield Control
  5. Lane Closure on a Multilane Road
  6. Freeway Lane Closure
  7. Lane Shift
  8. Intersection Work
  9. Road Closure and Detour
  10. Mobile and Short-Duration Operations
  11. Sidewalk Closures and Pedestrian Routes
  12. Night Work
VIIIExam Review and Field Check · pp. 64-69
  1. All the Numbers on One Page
  2. Setting Up and Taking Down in the Right Order
  3. Daily and Night Inspection
  4. Most Frequent Setup Mistakes
  5. Taper and Spacing Self-Test
  6. Check Your State Supplement

One Page, One Topic, All Clear

Think of it this way:

It's 6 a.m. You're closing a lane on a two-lane road with flaggers, and you need to know where the first sign goes and how far back the flagger stands.

You open the book to that layout and see it from above: the signs, the flagger station, the taper and the buffer, each one with its distance.

Panels 8–12 × 24 in; longitudinal devices never protect workers; positive protection per 23 CFR 630.1108.

Same with the taper formulas, the A-B-C sign table, cone spacing, arrow boards and night work: each one on its own page.

Work Zone Traffic Control Illustrated is 8 parts and 65 topics, all drawn, with all the numbers on one page, a taper and spacing self-test and a state supplement check at the end.

What you see drawn, you don't have to memorize.

What's Inside Work Zone Traffic Control Illustrated:

Ipp. 5-11

Before the First Cone

How to use the book, MUTCD Part 6 on one page, shall/should/may, the fundamental principles, TTC plans, work duration and work location.

IIpp. 12-19

Work Zone Areas

The areas in order, advance warning, transition, the activity area with work space and buffer, longitudinal and lateral buffer, termination, and a flagging zone to spot them on.

IIIpp. 20-27

Taper Math

Taper length without guessing: the two formulas and the 40/45 mph cutoff, which speed is S, the 5 taper types, worked examples at 55 and 35 mph, the quick table, cones in the taper and two-lane closures.

IVpp. 28-35

Signs: Sequence and Spacing

The A-B-C table and how to read it, warning signs, mounting height, everyday signs, regulatory signs, speed reduction, message signs and arrow boards.

Vpp. 36-43

Channelizing Devices and Lights

Device spacing in tapers and tangents, cones, tubular markers, drums, barricades, panels and barriers, warning lights and shadow vehicles.

VIpp. 44-51

Flagging

When you need a flagger, the gear, the STOP/SLOW paddle, the 3 signals, where to stand, sign sequence, two-flagger coordination and AFADs.

VIIpp. 52-63

Typical Layouts

12 typical layouts: shoulder work, two-lane with flaggers or yield, multilane, freeway, lane shift, intersection, detour, mobile, sidewalk and night work.

VIIIpp. 64-69

Exam Review and Field Check

All the numbers on one page, setup and takedown order, day and night inspection, the most frequent mistakes, a taper self-test and your state supplement.

At the end of the book: A taper and spacing self-test, all the numbers on one page and a state supplement check.
Plus: 2 Free Books

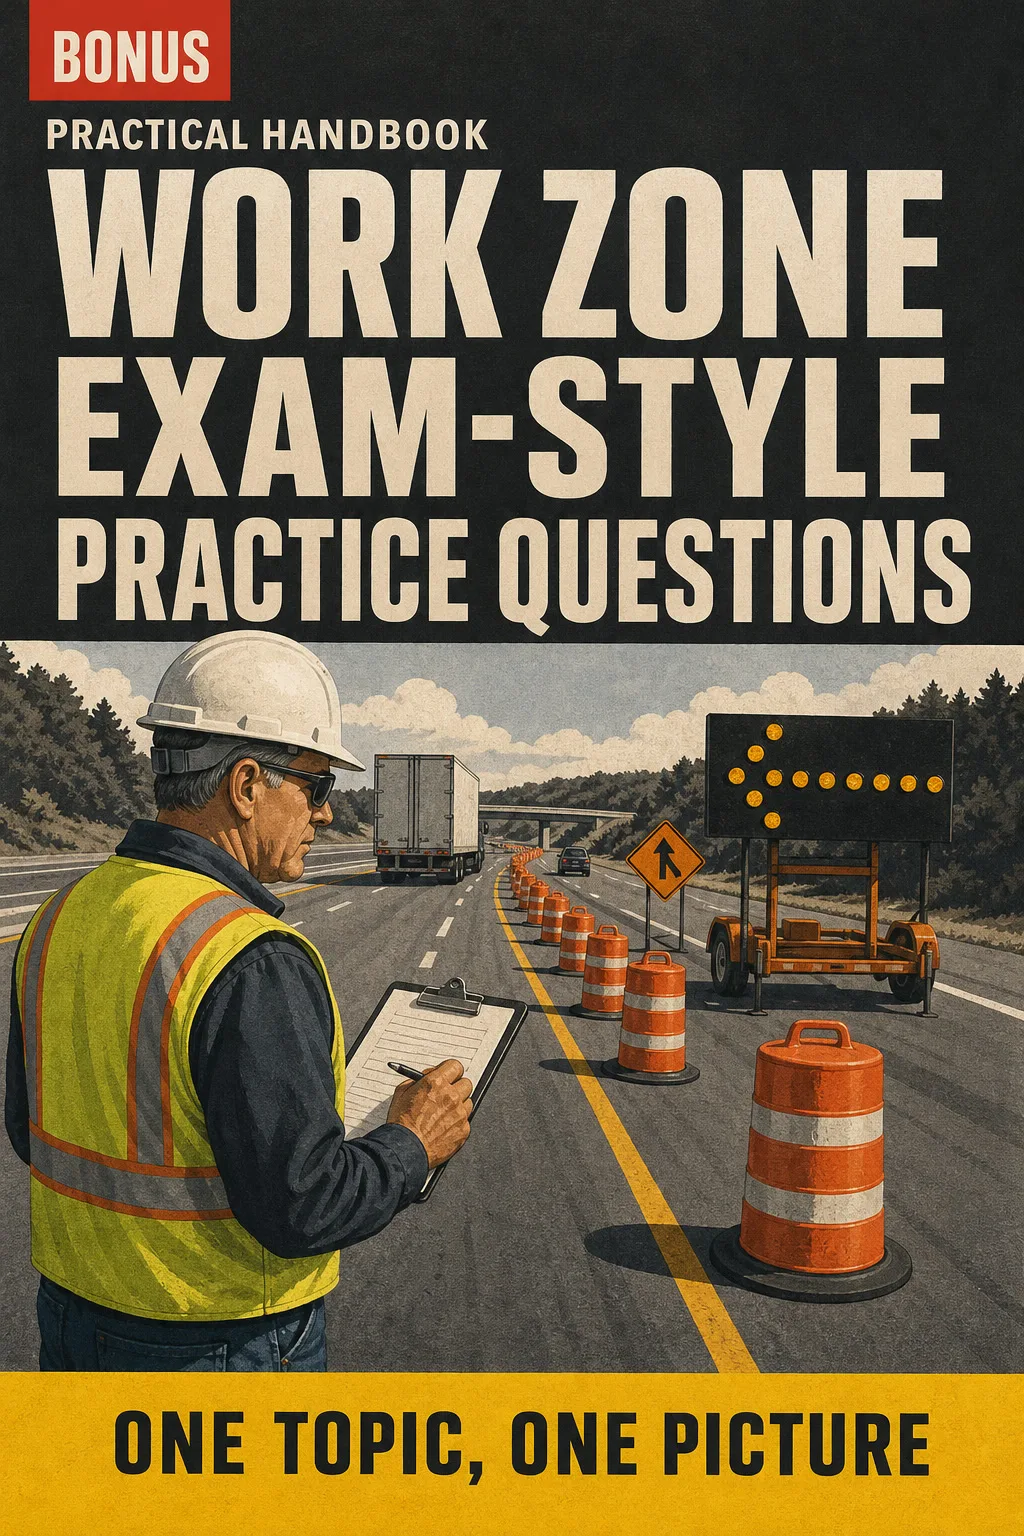
Work Zone Exam-Style Practice Questions

BONUS 1: «Work Zone Exam-Style Practice Questions»

Value on its own: US$ 17.90

Practice with exam-style questions on tapers, spacing, flagging and layouts, each with the answer and the page that explains it, so you find your weak spots before test day.

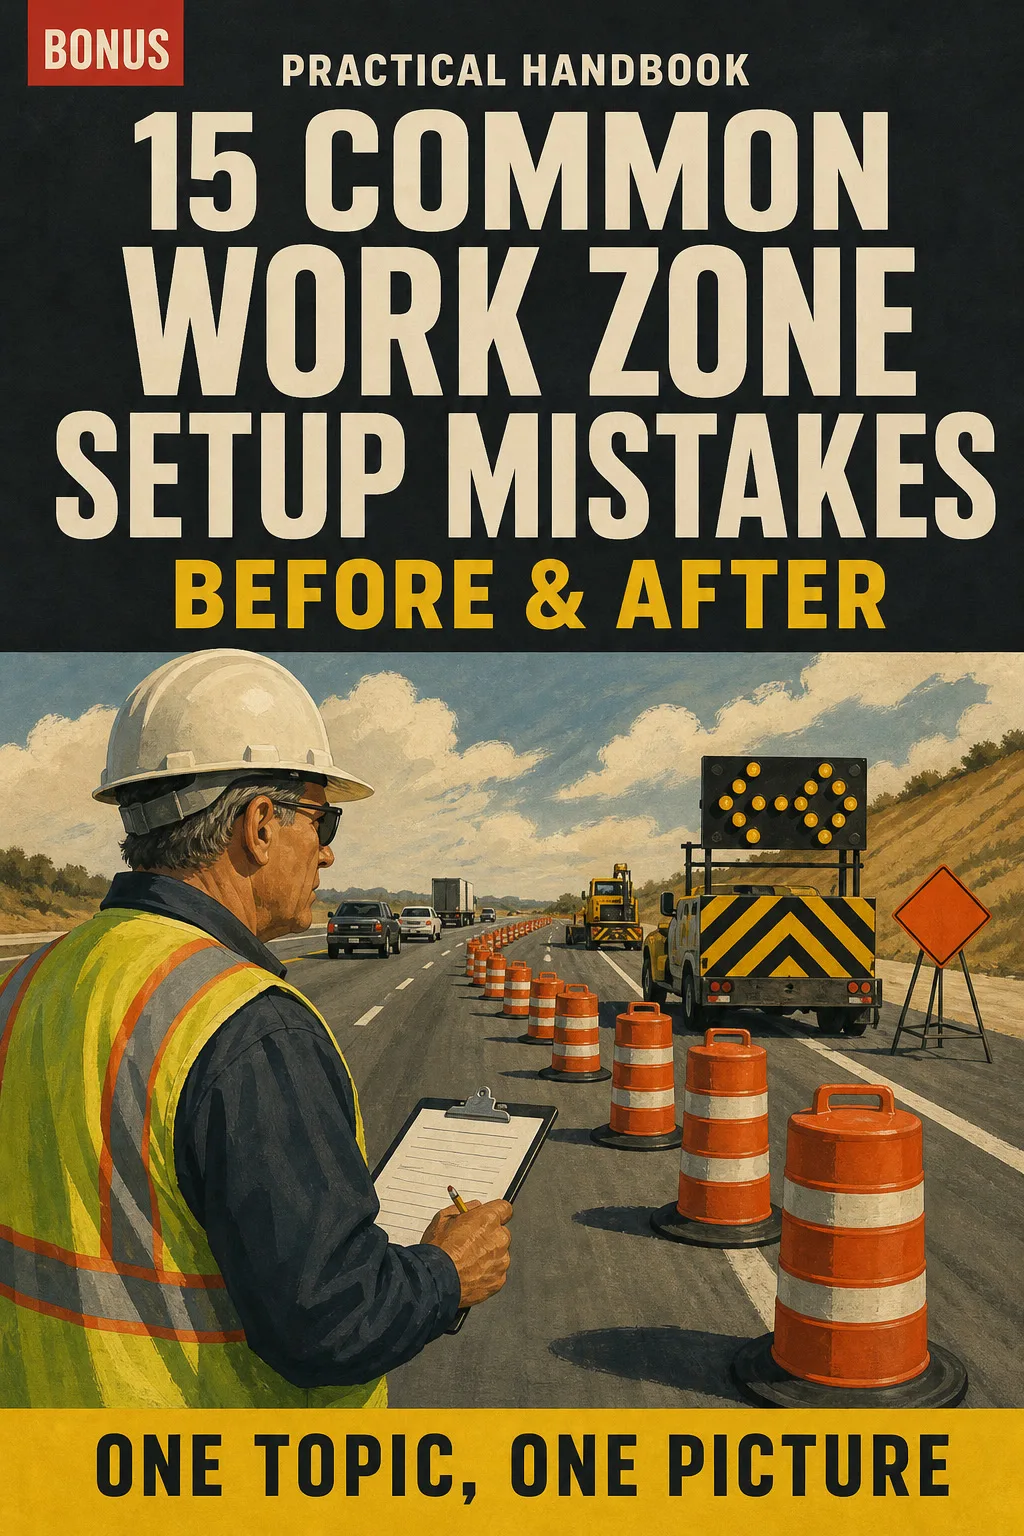
15 Common Work Zone Setup Mistakes: Before & After

BONUS 2: «15 Common Work Zone Setup Mistakes: Before & After»

Value on its own: US$ 14.90

See the most frequent setup mistakes drawn side by side with the correct layout, so you can spot a short taper or a missing sign at a glance.

Work Zone Traffic Control Illustrated with 2 Free Books

  • Work Zone Traffic Control Illustrated: 69 illustrated pagesUS$ 63
  • BONUS 1: Work Zone Exam-Style Practice QuestionsUS$ 17.90
  • BONUS 2: 15 Common Work Zone Setup Mistakes: Before & AfterUS$ 14.90
  • High-resolution PDF to printIncluded
Total value US$ 95.80
YOUR PRICE:
US$ 27
You save US$ 68.80
YES, I WANT WORK ZONE TRAFFIC CONTROL ILLUSTRATED FOR US$ 27

📄 This is a digital PDF book sent to your email: nothing is printed or shipped.

Secure purchaseEncrypted payment30-day guarantee

PDF by email: We email you Work Zone Traffic Control Illustrated as a PDF, together with the two free books. It's a single payment: no installments, no extra charges.

Who This Book Is For

You're studying for your traffic control technician certification

You're studying for your traffic control technician certification

Every MUTCD Part 6 topic on one page, drawn from above, so the formulas and distances stay in the same order.

Your certification or renewal is coming up

Your certification or renewal is coming up

The all-the-numbers page and the self-test show you what you still mix up, before test day.

You already run a crew on the road

You already run a crew on the road

Print it, keep it in the truck, and check a taper or a sign distance before the inspector does.

Everything You Get Today

US$ 95.80US$ 27
YES, I WANT WORK ZONE TRAFFIC CONTROL ILLUSTRATED FOR US$ 27

📄 This is a digital PDF book sent to your email: nothing is printed or shipped.

30DAYS
GUARANTEE

30-Day Guarantee

Try Work Zone Traffic Control Illustrated for 30 days, bonus books included.

We refund everything if the file won't open, if the book isn't what you see here, if you were charged twice or if the email doesn't arrive. Just email us.

You pay once. No subscriptions.

Frequently Asked Questions

Is it for me if I've been setting up work zones for years?

Yes. It's not a beginner's book: it puts the MUTCD Part 6 numbers you already use on one page per topic, so you review them in the same order every time.

Where does the content come from?

From the MUTCD 11th Edition (FHWA), Part 6, plus 23 CFR Part 630 Subparts J and K and ANSI/ISEA 107. The values are checked against the current edition. Your state may have its own supplement, and the last page shows you how to check it.

Is this official material?

No. It's an independent study guide, not the official material of any certification course, state DOT or training provider.

Does it replace the certification course?

No. It doesn't give you a certificate, a card or course credit. It helps you study and review, but you still need the required course and exam, your employer's training and your state's rules.

Are the practice questions the ones on the exam?

No. They're written for this book in an exam style, each with the answer and the page that explains it. They aren't official exam questions.

When and how do I get it?

The book and the 2 bonus books come as PDFs by email, sent to the address you enter at checkout.

Do I have to pay every month?

No. It's a one-time payment.

Can I get it on paper?

Yes. It's a printable PDF: print it at home or at a print shop and keep it in the truck.

How does the refund work?

You have 30 days. We refund everything if the file won't open, if the book isn't what you see on this page, if you were charged twice or if the email doesn't arrive: just email us.

Before You Close This Page

No more rereading the MUTCD and having nothing stick.

The taper, the signs and the cones: you see them drawn, and that's it.

You walk into the exam knowing where everything is.

Drawings make studying faster.

The book is right below.

One-time payment: US$ 27 · Guarantee: 30 days · PDF by email

YES, I WANT WORK ZONE TRAFFIC CONTROL ILLUSTRATED FOR US$ 27

📄 This is a digital PDF book sent to your email: nothing is printed or shipped.